History
While there have been significant advances in projection technology, the concept of light reflecting off a screen is still the same. Let’s compare projectors to the new kid on the block, LEDs. The official name is “direct view LED display”.
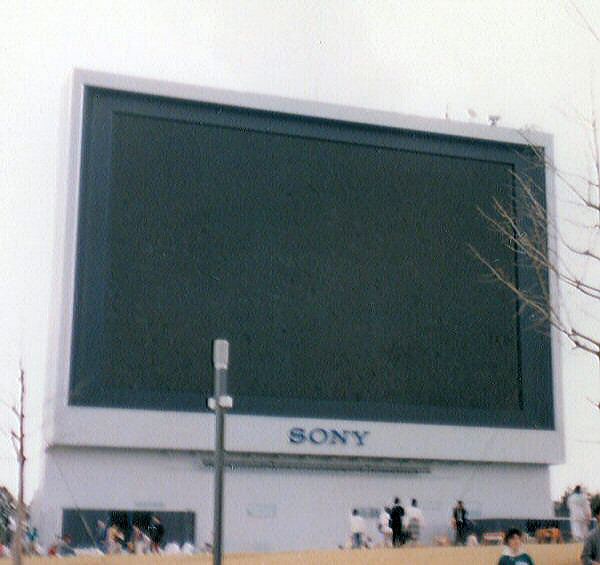
For years they were labeled “jumbotron screens”. These were the evolution of Sony’s giant CRT based scoreboards in the 80’s. Now every sports arena has large video boards that utilize LED technology.
Over the past few years, LED manufacturing has progressed significantly. This hit an economy of scale that has brought the cost down considerably. Let’s look at some differences between traditional projection and LED to help you decide which might be best for your next event.
Foot Print
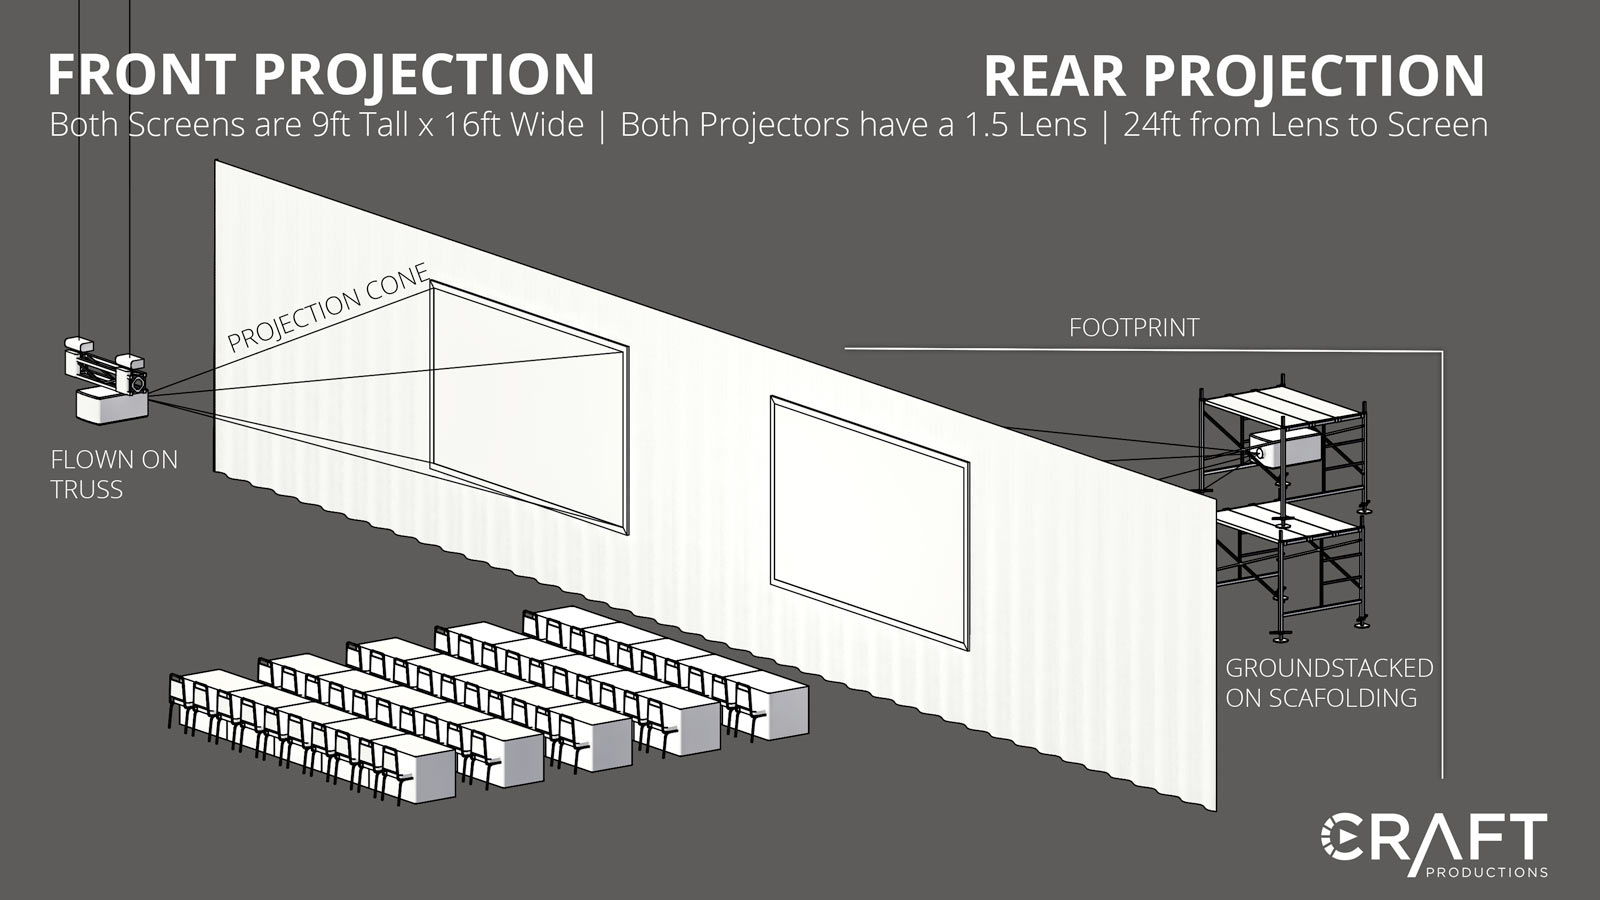
The first difference most people think of is the depth of the screen. With projection, there is a projection cone. This is the space needed in front of, or behind the screen in order for the projector to project the full width of the screen. It’s critical with projection to make sure the cone of light is unobstructed to avoid shadows in the image. For the best projection image, the depth of this cone ranges. It can be measured from one and a half times, up to two and a half times the screen width.
With specialty lenses, the projection cone distance can be shorter or longer if needed. Specialty lenses typically incur additional cost and can produce image artifacts. One such artifact is hotspotting, which means the image is noticeably brighter in the center, versus the edges and corners. This artifact occurs most often in short throw, rear screen applications. Keystone distortion also occurs in short throw lens setups or if the projector is not centered on the projection surface. Modern projectors include correction for this optical artifact. But the digital correction can create softening artifacts in fine lines.
Because the cones are small at the projector end, we often put the projector on a scaffold tower behind the screen to create usable additional space.We have used this space behind and below the screens to store empty cases and setup control areas for various backstage crew like powerpoint operators.
You may want to reduce the space behind the screen to provide more capacity for attendees. Don’t forget that there are often several stations of operators and upcoming VIP presenters behind those screens. Before you push the screens back, an AV vendor should map out the backstage area to include those spaces, Once you lay out a diagram for areas needed backstage, your production may still have room for projection.
Aren’t LED screens much thinner? Yes and no. Even for the largest frames, a projection screen is still only inches thick. With advancements in projection lenses, projectors can be placed in locations that take up an extremely small footprint. If the projectors are hanging from the ceiling, they may have no floor footprint at all.
By contrast, LED screens start around the same thickness but are often too heavy to hang from the ceiling. Sometimes the hanging points in the ceiling don’t line up exactly where you would want to place your screen. Because of the significant weight of LED screens, the structure to support it from the ground is often several feet deep. Additional distance is also needed behind an LED screen for ballast weight to ensure that the wall can’t fall forward.
Due to the nature of a LED screens composition, many individual modules and tiles are interconnected with hundreds of cables. It’s best to allow space for a technician to get behind the screen to address any problems that may arise. LED screens require power distribution and signal processing racks that also take up floor space. These typically need to live close to the screens.
Taking space into consideration, you must account for the cases that LED tiles, cabling, and their accompanying structures travel in. It’s not unusual to have several dozen or more cases that need to be stored somewhere. The optimal location for storage is behind the screen, being accessible when you strike. These cases occupy floor space, as opposed to a projection cone overhead, which leaves the floor space below open for show operators.
There are several other considerations too. What if there are columns in the ballroom that you can not project past? Or low hanging light fight fixtures? These obstructions make it impossible to get a clean shot from projector to screen. In these environments, LEDs can be the perfect solution. But footprint isn’t the only consideration between these two technologies, let’s explore some more.
Picture Quality
Picture quality is a significant difference. LED screens have an overwhelming advantage when it comes to brightness and contrast. The physics of projection reduces brightness and contrast as the screen increases in size. With LED, the contrast is constant and the brightness increases as the screen gets larger.
LED screens are the obvious winner for daytime outdoor events and spaces with lots of ambient or uncontrolled light. By comparison, projection screens are highly affected by ambient light. Ambient light competes directly with the light from the projector thus reducing the contrast of your projected image. Any colored light that hits the screen can also introduce color casts on the image. It’s important to consider the ambient light in your space when choosing which technology is ideal.
There is no cone of light with LEDs and ambient light impacts LED screens minimally. This means you can have presenters stand in front of LED screens without casting shadows on front projected screens or washing the screen out with the stage lighting. These characteristics have made LEDs the go-to choice for exhibit booths in brightly lit expo halls.
Where projection lacks in brightness and contrast, it has the advantage in color gamut. Larger modern projectors can reproduce shades of color that the mix of red, green and blue LEDs simply cannot. Because LED screens are so bright, they often need to have the brightness turned down significantly. This further reduces the color accuracy when used in dark environments. Projection is preferred when color accuracy is your priority and you can control the room lighting to provide enough contrast.
Cost Differences
The next consideration for many is also the most important; cost. The general rule of thumb is that projection typically costs less. Projectors and screens are more plentiful in most areas. They are often already paid for in the vendor’s inventory, allowing vendors more latitude in pricing.
The inverse is true for LED screens. They are only available in significant quantities, in major markets, and rarely do you have multiple vendors in an individual market competing on price. Thus, shipping the LED screen to the venue is often the expectation. LED screens are heavy, requiring more power, the setup is labor intensive, and they will depend on rigging if flown.
Over time, as more vendors invest in LED, the supply and demand impact on cost will diminish. With the landscape of shows and current trends, there may be unique opportunities for you to gain access to LED screens at rates unheard of before.
The Size and Ratio of the Screen
LED screen modules are manufactured in a variety of pixel spacings called pixel pitch. Projectors have a fixed resolution that is displayed regardless of the size of the projected image. The resolution of your LED screen will be a function of the size and pixel pitch. You can literally design your LED wall to any shape you can think of which can be great for out of the box scenic heavy stage designs.
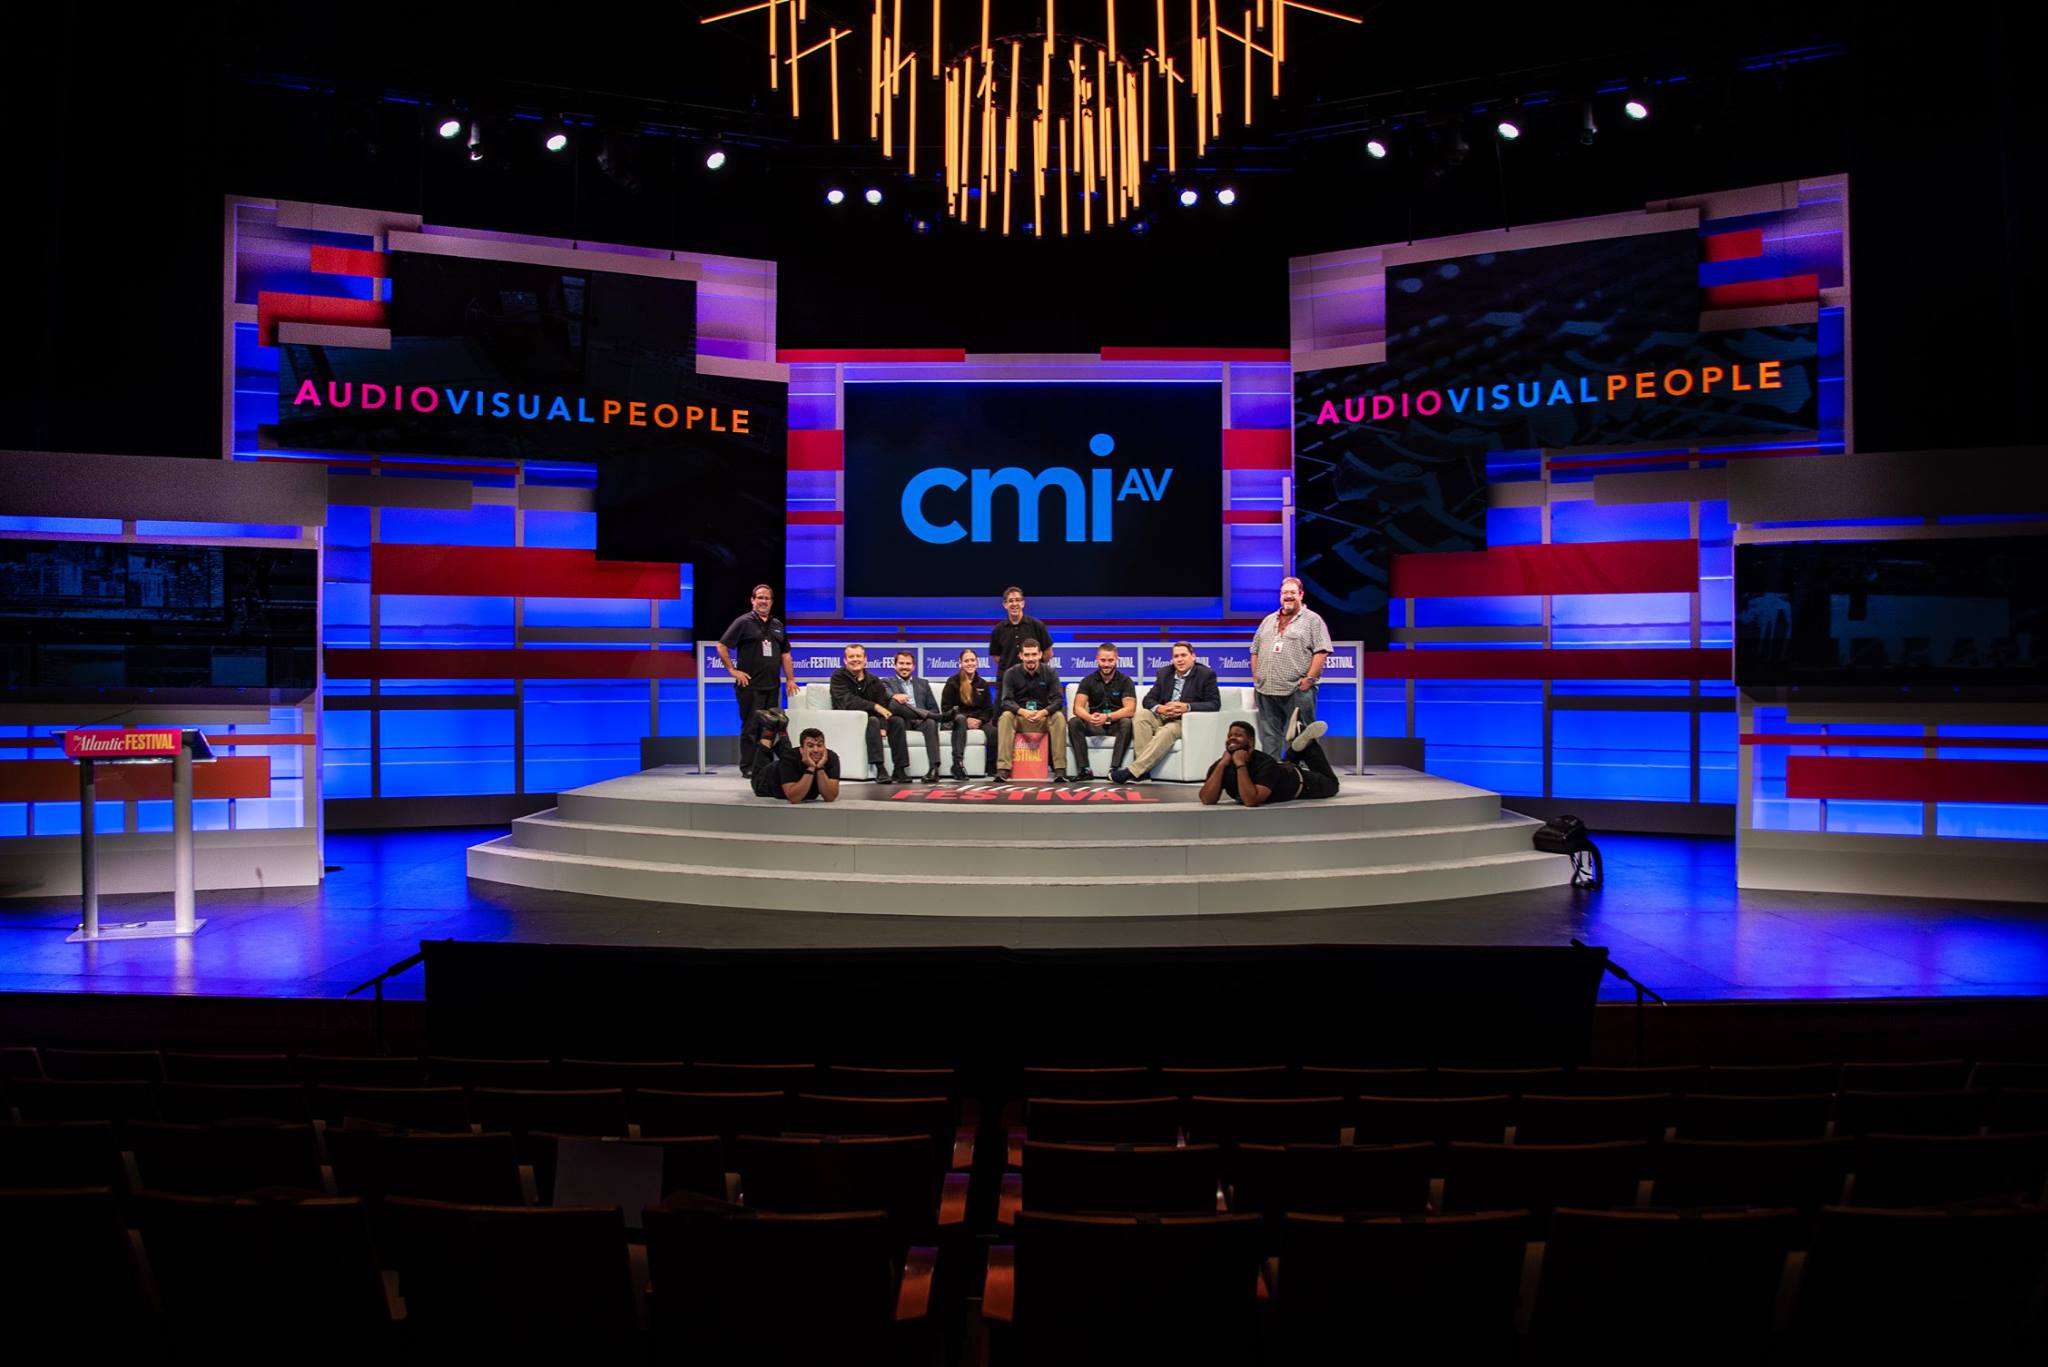
Photo Credit: CMI AV | 2018 Atlantic Festival | Washington, DC
Resolution
When dealing with projection, it’s very rare to be able to see the individual pixels, or dots that make up your image. With LED, each pixel is a physical LED which stands for light emitting diode. Those diodes are attached to the modules. You simply cannot squeeze them tighter to get a higher resolution image, you must procure different modules or tiles that have been manufactured with a tighter pixel pitch.
As manufacturing quality has improved, LED modules are now available that have extremely tightly packed LEDs and a very small distance between them. When specifying an LED screen, you will want to look at the pixel pitch number for three reasons:
- Lower numbers in the 0.5 to 2.4mm range will give you a very clear picture. However, these modules are the most delicate and problem prone.
- They often begin to look inconsistent from the sides, as even the most subtle variation in the surface or attachment between tiles or modules is very noticeable.
- The last challenge with small pixel pitch screens is generating content and the pipeline to get that content onto screens with such a high resolution. Even a small LED screen at a very tight pixel pitch can have a higher resolution than the switching and content devices upstream can provide.
Most vendors will guide you to a pixel pitch that is low enough to produce a smooth image when viewed from where the audience is positioned. This typically turns out to be in the 2.9mm to 3.9mm range for most hotel ballrooms. In ballrooms, the audience is typically seated around twenty feet from the screen. For larger concerts or outdoor events, you might be recommended a 5, 8, 10, or even 25mm pixel pitch. In these cases the audience is often viewing the image from hundreds of feet away, and the screens are extremely large.
Image Artifacts
With all LED screens, you will see something called morie’ when looked at through the lens of a camera. Morie’ occurs when the pixels in the camera sensor are not exactly lined up with the rows and columns of pixels in the LED screen.
The stair stepping of the rows or columns will dance between pixels in the camera sensor, resulting in swirling or popping of brightness. This occurs as the rows or columns go in and out of alignment. You will often see these artifacts when you place a presenter directly in front of an LED screen and shoot that presenter with a camera.
The key to reducing this artifact is to try to blur out the screen behind the presenter. This is achieved by reducing the depth of field of the camera, and placing the presenter at least 12 feet in front of the screen. Another method is to lock the camera down in a good alignment with the wall. Morie’ artifacts are most noticeable during camera movement.
Now that I know the differences… How do I choose which is better for my event?
So how do you decide which technology to choose? My personal decision tree starts with ambient light. Bright spaces typically eliminate the projection option. If the light is controllable in the space, then you can check for barriers that would block a projection cone.
Next let’s look at where the screen sits in relation to the presenters. I will inquire about the client’s desire for higher contrast over color gamut. I will look at the budget and feasibility of mounting, or supporting the screen, projectors or LED modules. If there is no deal breaker for either technology, I might price both options providing costs to see if that will direct a client one way or another.
Usually clients prefer the LED screens and their fantastic brightness and contrast if all other factors are equal. Although your vendors will have some opinion which technology accommodates the clients requirements, it’s always good to understand the pros and cons of both so that you can make the best decision for your unique special event.
Author:

Dave Knode is a thirty year veteran in the live events and installed audiovisual industry. He has extensive experience in all disciplines of event production technology. As a sought after resource, working on live events for some of the largest companies in the world, he regularly designs and implements cutting edge solutions for his clients.
https://www.linkedin.com/in/daveknode/